
Visits: 22980
Register a domain with Route 53
Many people get stuck setting up an EC2 Instance as a mail server. Did you send a test message to your new instance and never receive the email ? To set up a mail server you first need the MX record to be properly setup in Route 53 or in Your DNS. Some of our Charming Clients get stuck setting up there Mail Servers. The best way to start is to first purchase your domain from AWS Route 53, that way it is easiest to set up. I like to purchase domains from AWS because the price doesn’t change from the second year on. Many domain registrars charge you only a couple of dollars to register a domain for a year, but then will charge you up the wazoooo for the following years.
These instructions assume that you purchased the domain from Route 53. To purchase a domain from AWS via Route 53 go to: https://console.aws.amazon.com/route53/home#DomainRegistration: After Registering your domain Route 53 sets up a “hosted zone” for you this includes an SOA – Start of Authority Record and NS record that tells the universe what servers know your real IP addresses. I failed a job interview not know what an SOA was, so be sure to remember it!

Elastic IP Address
Once you have registered your domain you can use your Elastic IP address for the A record for the DNS. Do not use an assigned IP address when you launch and EC2!!! This changes when you shutdown then re-launch the instance. See https://docs.aws.amazon.com/AWSEC2/latest/UserGuide/elastic-ip-addresses-eip.html
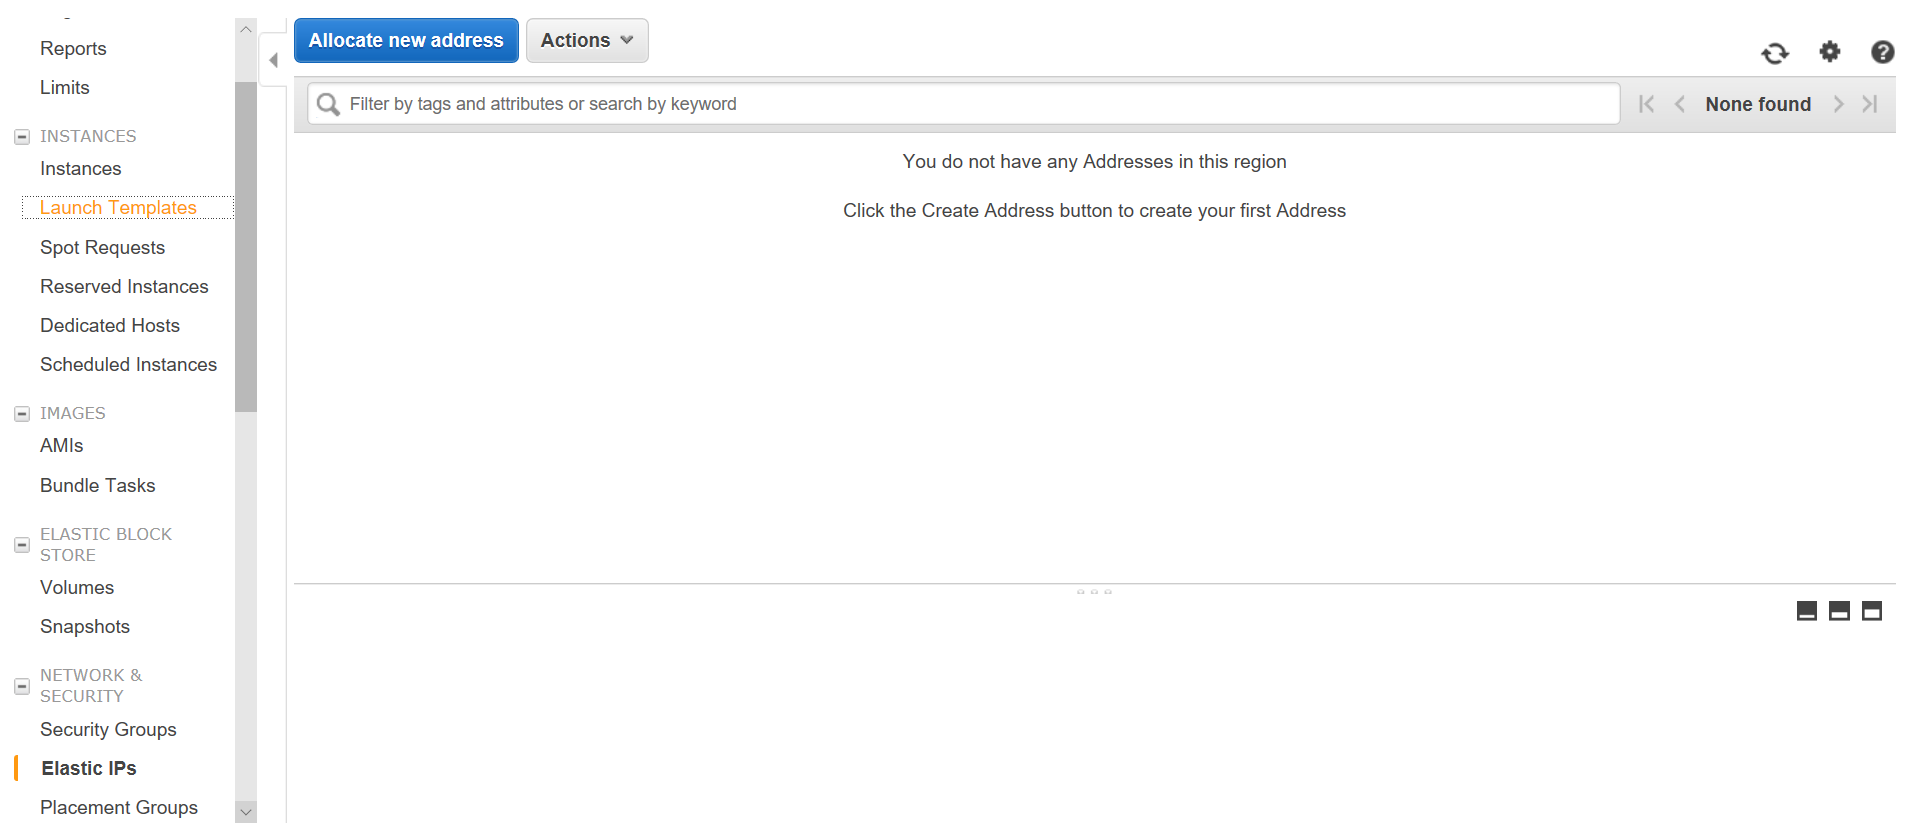
To get an Elastic IP Address for your EC2 Instance open your EC2 console Panel. In the left column go all the way down until you see Elastic IP addresses, select that. It is under Networks and Security. Then click on the blue button at the top “Allocate New Address”, then Allocate in the next screen. Then you will receive an Elastic IP Address.
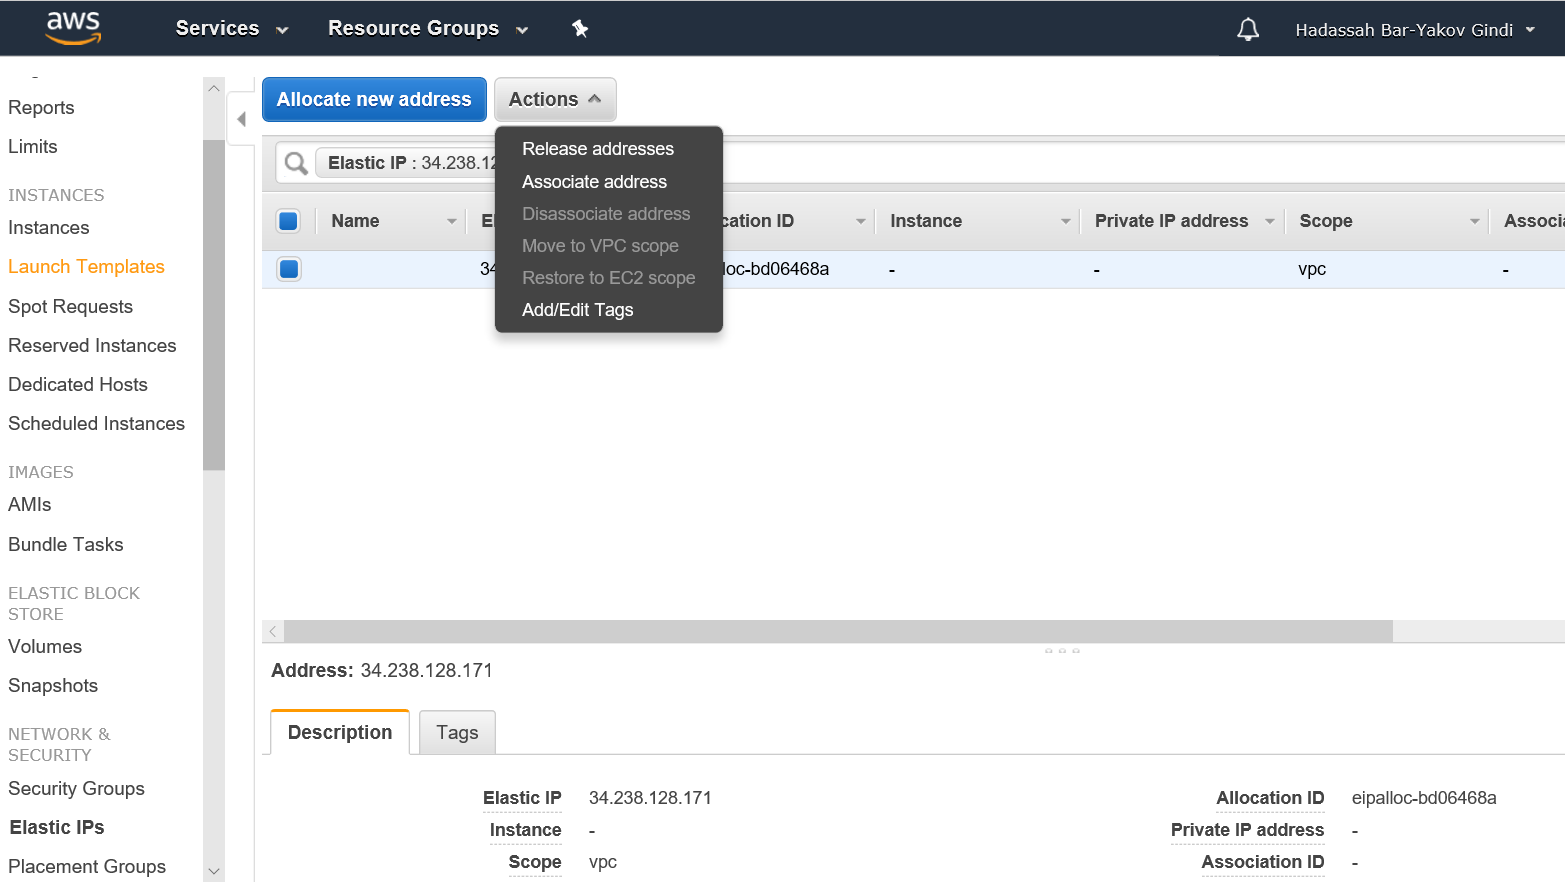
Now you need to assign the IP Address to the EC2 Instance that you previously launched. You should label your EC2 instances, then when it is easy to remember which instance is which in these kind of configurations. You can click on your new IP address that will appear or select it from the list of Elastic IPs that has now started.
Right Click on your IP Address from with the list of IPs and select “Associate Address”
Select from the list of instances your Instance that needs the IP Address, then click the blue “Associate” button
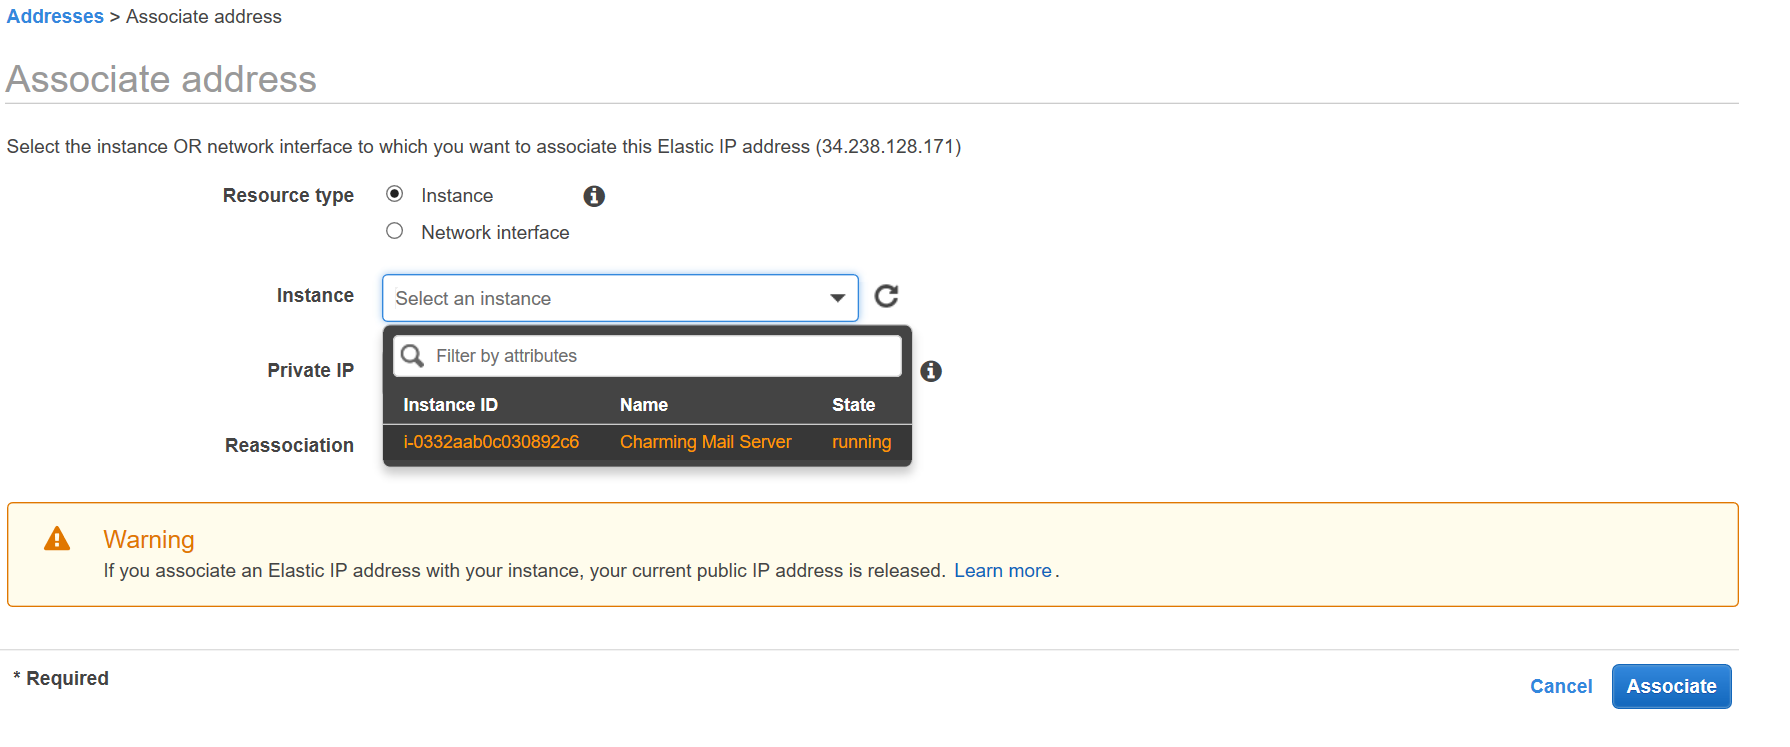
You have now associated the EC2 Instance with an Elastic IP Address.
Setup the Route 53 DNS
Now you can setup the DNS with your instance.
Copy your Elastic IP Address number from list of Elastic IPs

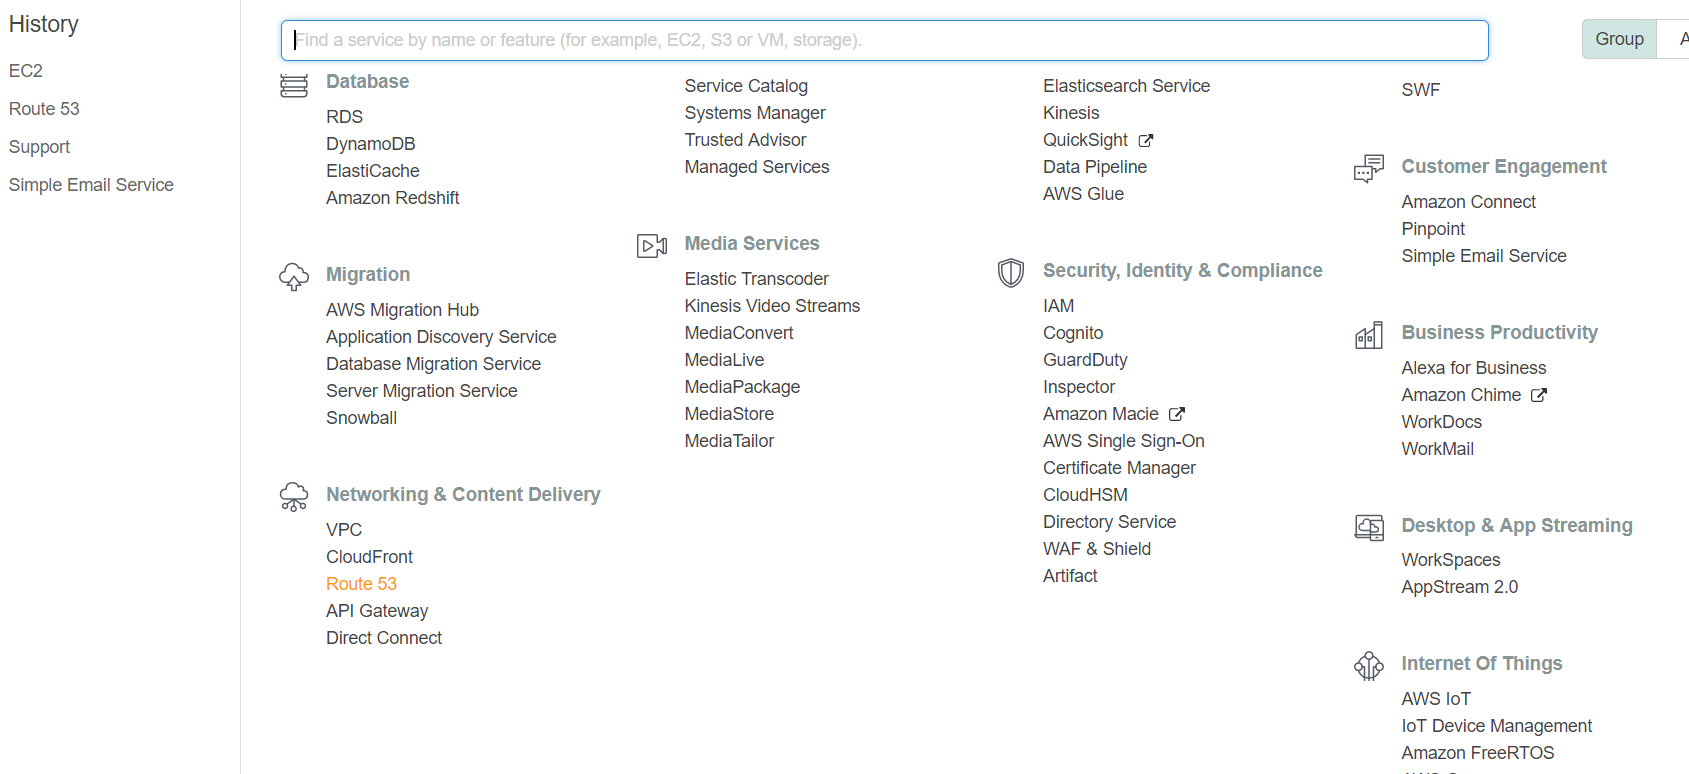
Now go into Route 53 from the services drop down menu at the top of your Console Panel. It is under Networking & Content Deliver in the lower left, but might move.
Then click on Hosted Zones, since you purchased your domain from AWS they set this up automatically.
Now Select your domain name from within the list of hosted zones. For our demonstration purpose we will set up a domain called test.charming.click, so that we can eventually receive email to username@test.charming.click . There are many ways to set up DNS and MX records but we are keeping it simple.
Select create Record Set. In the right window next to “Name” write your subdomain name if you have one or leave it blank for Top Level. Next to value paste your Elastic IP address .
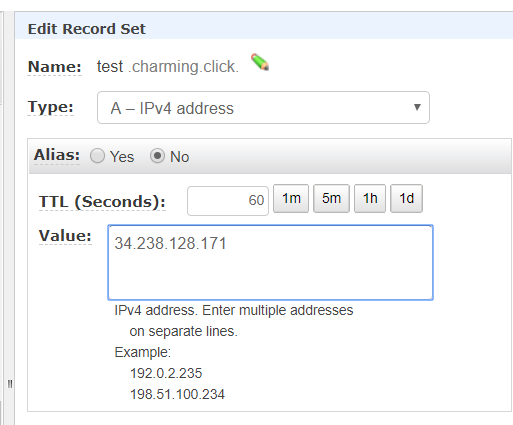
Now you have set up an A record. You can connect to it via SSH or RDP, if it has a working webserver, your domain will now work.
Now we need to point out MX record the server. the MX record tell the internet where to send mail. You can have an A record with an entirely different domain name receive mail on behalf of different domain. For instance you can have an A record for mail.yourdomain.com and point the MX record for the Top Level Domain yourdomain.com and recevie email to user user@yourdomain.com . But we are keeping it simple here, using the same sub-domain name for both A and MX records.
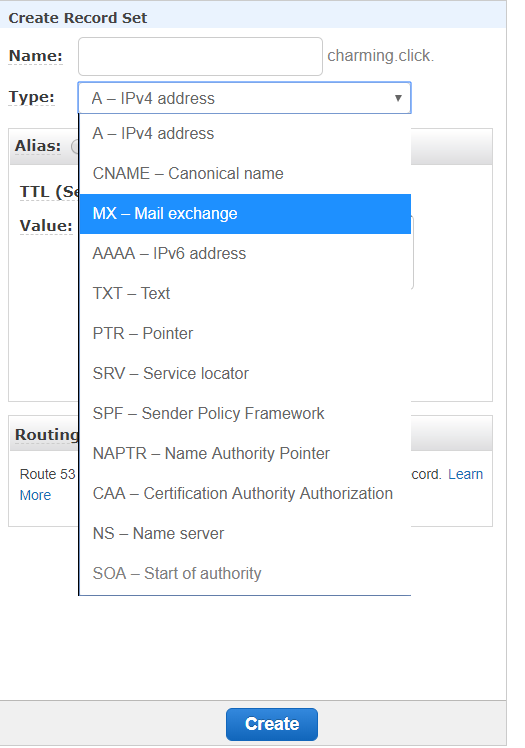
So again select “Create Record Set” at the top of the window. In the drop down menu in the same right window select MX Record.
Now in the Value window put the number 10 before the domain name, then a space followed by your domain name of the above A record. Next to name type in your subdomain, if you are using one or leave it blank if it is top level. The number represents priority, if you later setup and backup mail server, you give this a higher number for it to be used only if the first one is down.
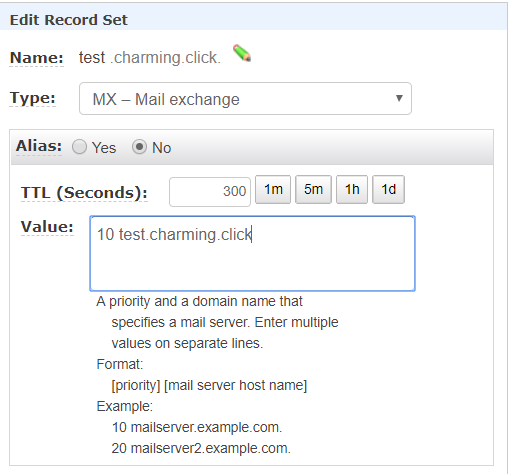
You should now have it all set up. You should now try to send email to an existing user at your mailserver.