Visits: 1066
phpMyAdmin offers one of the easiest ways to import and export databases on a MySQL environment. Follow along with Jack Wallen’s phpMyAdmin tutorial.
Source: Import and export databases using phpMyAdmin – TechRepublic
Exporting databases
The first step in this process is to export the working database from the source server.
- Log in to the phpMyAdmin instance on the source server.
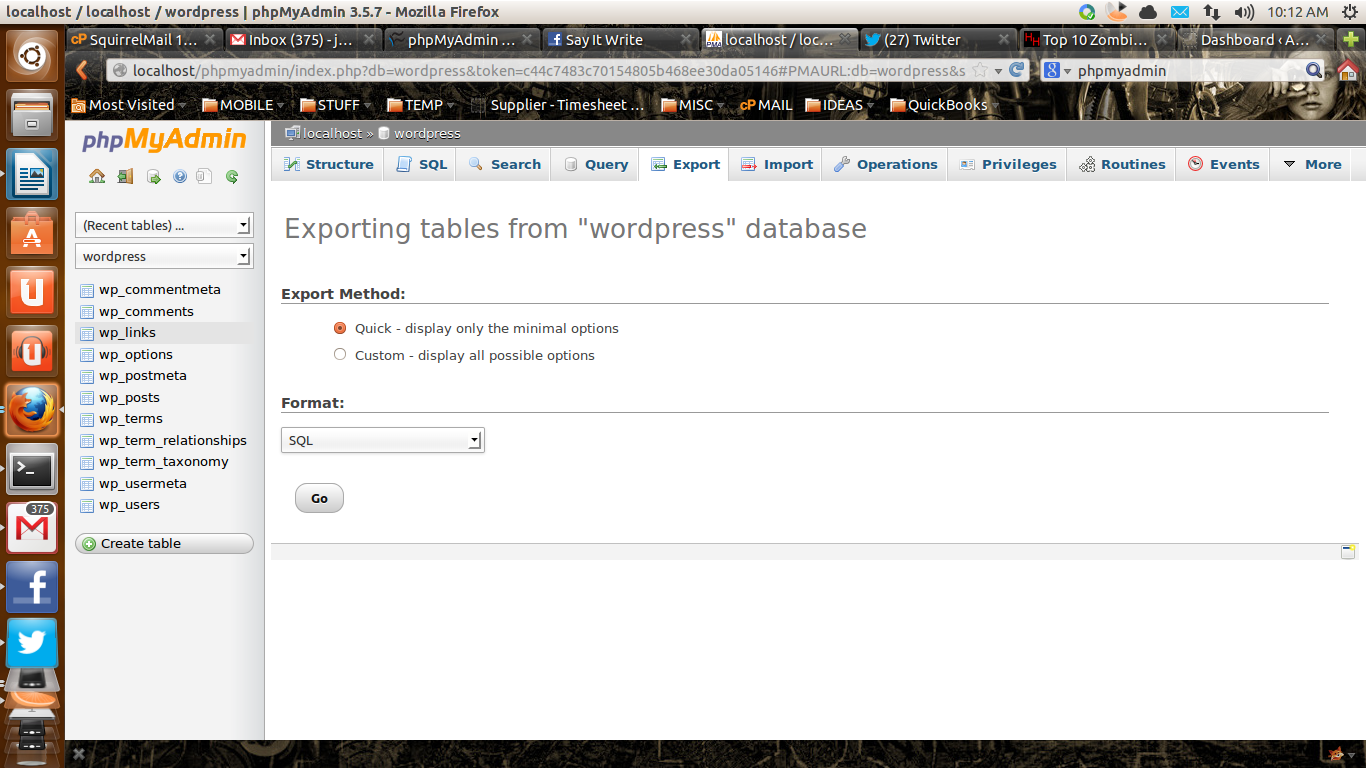
- Click the Export tab (Figure A).
- From the database drop-down (left navigation), select the wordpress database.
- Choose between a Quick or a Custom export. The Quick method should work most of the time, though if you need to get more granular with your export options, click Custom (Figure B). If you choose Custom, you can configure the following:
- Tables: Choose which tables to export.
- Output: Choose the template, character set, and compression for the export.
- Format: Choose to display comments, enclose the export in a transaction, disable foreign key checks, dump table (structure, data, or both).
- Object creation options: Add statements.
- Data dump options: Use INSERT DELAYED or INSERT IGNORE statements, select the function to use when dumping data, select the syntax to use when inserting data, maximal length of created query.
- Select the format from the Format drop-down (for a wordpress to wordpress export/import, select SQL).
- Click the Go button.
- Save the file (which, by default, should be named wordpress.sql).
You should now have a file on your local disk called wordpress.sql.
Figure A

Even with the Quick option, you can select your database’s output format. (Click the image to enlarge it.)
Figure B

This is a portion of the Custom export screen. (Click the image to enlarge it.)
Importing databases
The import process is just as simple. These steps can be used for either a database exported from phpMyAdmin or a database dumped using another tool (such as the mysqldump command).
You need to make sure there isn’t already a database on the target server with the same name. With your database on your local drive, here are the steps you should follow to import that file with phpMyAdmin.
- Log in to phpMyAdmin.
- Create an empty database from the Databases tab (Figure C).
- Click the Import tab.
- Click the Browse button.
- Locate the file to be imported.
- Click Open or OK, depending on your browser.
- Select the proper collation from the drop-down.
- Select the format of the import file.
- Click Go.
After the import process is complete, check the site to make sure everything is good.
Figure C

Make sure the collation of the newly created database matches what is used in the backup file to be imported. (Click the image to enlarge.)
Conclusion
If you’re looking for one of the easiest methods of importing and exporting databases on a MySQL environment, you cannot go wrong with phpMyAdmin. Not only does phpMyAdmin offer an incredibly easy to use interface, it also enables you to migrate databases from source to target quickly and with very little hassle.